


Mar . 28, 2026 02:35 Back to list
Comprehensive Guide to the Raspberry Pi 3 B+ Camera Module and Its Applications
Raspberry Pi 3 B+ Camera Module: A Comprehensive Guide
The Raspberry Pi 3 B+ camera module is a powerful and versatile tool for a wide range of projects, from home security and time-lapse photography to computer vision and robotics. This article will provide an in-depth look at the features, specifications, applications, and benefits of utilizing this module. Whether you are a seasoned developer or just starting your journey into the world of Raspberry Pi, this guide will equip you with the knowledge to make the most of your camera module. Choosing the right camera module is essential for achieving optimal results in your projects.

Understanding the Raspberry Pi 3 B+ Camera Module
The Raspberry Pi camera module is designed to connect directly to the CSI (Camera Serial Interface) port on your Raspberry Pi. This interface provides a high-bandwidth connection, ensuring smooth and high-quality video and image capture. The module itself is relatively small and lightweight, making it ideal for integration into various projects. It's incredibly user-friendly, with readily available software libraries and documentation. The camera module typically comes in two main versions: the standard version and the NoIR (No Infrared filter) version.
Key Highlights: Easy integration with Raspberry Pi, High-bandwidth CSI interface, Compact and lightweight design, User-friendly with extensive documentation.
Raspberry Pi 3 B+ Camera Module: Standard vs. NoIR
The primary difference between the standard and NoIR camera modules lies in the presence of an infrared filter. The standard module includes a filter that blocks infrared light, resulting in natural-looking colors in well-lit conditions. The NoIR module, however, lacks this filter, allowing it to capture images in complete darkness using an infrared (IR) light source. This makes the NoIR module suitable for security systems, night vision projects, and other applications where visibility in low-light conditions is essential.
Camera Module Comparison:
• Standard Module: Includes IR filter, ideal for daylight use.
• NoIR Module: No IR filter, suitable for low-light and night vision applications.
• Both Modules: Same resolution and image quality in appropriate lighting.
Applications of the Raspberry Pi 3 B+ Camera Module
The versatility of the Raspberry Pi 3 B+ camera module opens up a world of possibilities. Some popular applications include: home security systems with motion detection and remote monitoring, time-lapse photography for capturing slow-moving events, computer vision projects like object recognition and facial detection, robotics for providing visual feedback and navigation, and remote camera control for various applications. The module’s relatively low cost and ease of use make it an excellent choice for both hobbyists and professionals.
Technical Specifications & Key Features
The Raspberry Pi camera module boasts impressive specifications for its size and cost. It features an 8-megapixel sensor capable of capturing still images at resolutions up to 3280x2464 pixels and video at 1080p at 30 frames per second. It has a fixed focus lens with a wide-angle view. The module connects to the Raspberry Pi via a flexible flat cable, making installation straightforward. Let's take a look at a detailed breakdown:
Getting Started with Your Raspberry Pi Camera Module
Setting up the Raspberry Pi 3 B+ camera module is a straightforward process. First, ensure your Raspberry Pi is powered off. Gently insert the camera module’s flat cable into the CSI port. Next, enable the camera interface in the Raspberry Pi configuration settings (raspi-config). Reboot your Raspberry Pi, and you're ready to start capturing images and videos using software like the Raspberry Pi Camera software or Python libraries.
Conclusion: Unleashing the Potential of Visual Computing
The Raspberry Pi 3 B+ camera module is an invaluable tool for anyone interested in exploring the world of visual computing. Its versatility, affordability, and ease of use make it an excellent choice for a wide range of projects. By utilizing this module, you can unlock a wealth of possibilities, from enhancing security to creating innovative robotics applications. For high-quality camera modules, visit SZMYCCM today!
Frequently Asked Questions (FAQs)
What Raspberry Pi models is the camera module compatible with?
The camera module is compatible with all Raspberry Pi models that feature a CSI port, including the Raspberry Pi 3 B+, Raspberry Pi 4, and Raspberry Pi Zero. However, ensure your Raspberry Pi has the latest firmware and operating system for optimal compatibility. Older versions might require updates to recognize the camera module. The Raspberry Pi documentation provides detailed instructions for enabling the camera interface on each model.
How do I troubleshoot issues with the camera module not being detected?
If the camera module is not detected, first ensure the cable is securely connected to both the camera module and the Raspberry Pi's CSI port. Next, verify that the camera interface is enabled in the Raspberry Pi configuration (raspi-config). You can also try updating the Raspberry Pi's firmware and operating system. If the issue persists, try a different camera module or cable to rule out hardware problems. Checking the system logs for error messages can also provide valuable clues.
Can I use the camera module for live streaming?
Yes, the Raspberry Pi camera module can be used for live streaming. Software like MJPG-streamer or v4l2rsrc can be used to capture and stream video over a network. You can then access the stream using a web browser or a dedicated streaming client. The quality of the stream will depend on your network bandwidth and the encoding settings used.
What are some good resources for learning more about Raspberry Pi camera module projects?
There are numerous online resources available for learning more about Raspberry Pi camera module projects. The official Raspberry Pi documentation is a great starting point. Websites like Instructables, Hackster.io, and GitHub host a wide range of projects and tutorials. Additionally, online forums and communities dedicated to Raspberry Pi provide a platform for asking questions and sharing knowledge. For high-quality modules, explore the offerings at SZMYCCM.
-
Guide to Raspberry Pi Camera Module v3 with Powered Autofocus
NewsApr.16,2026
-
Guide to Using the raspberry pi camera module v1 3 for IoT Projects
NewsApr.09,2026
-
Exploring the Capabilities of the Raspberry Pi Camera Module 3 Noir for Diverse Applications
NewsApr.07,2026
-
Unlocking Visual Potential with the Raspberry Pi Camera Module 3 for Advanced Projects
NewsApr.04,2026
-
Raspberry Pi Noir Camera Module V2 8MP 1080p30 A Comprehensive Guide for Projects
NewsMar.31,2026
-
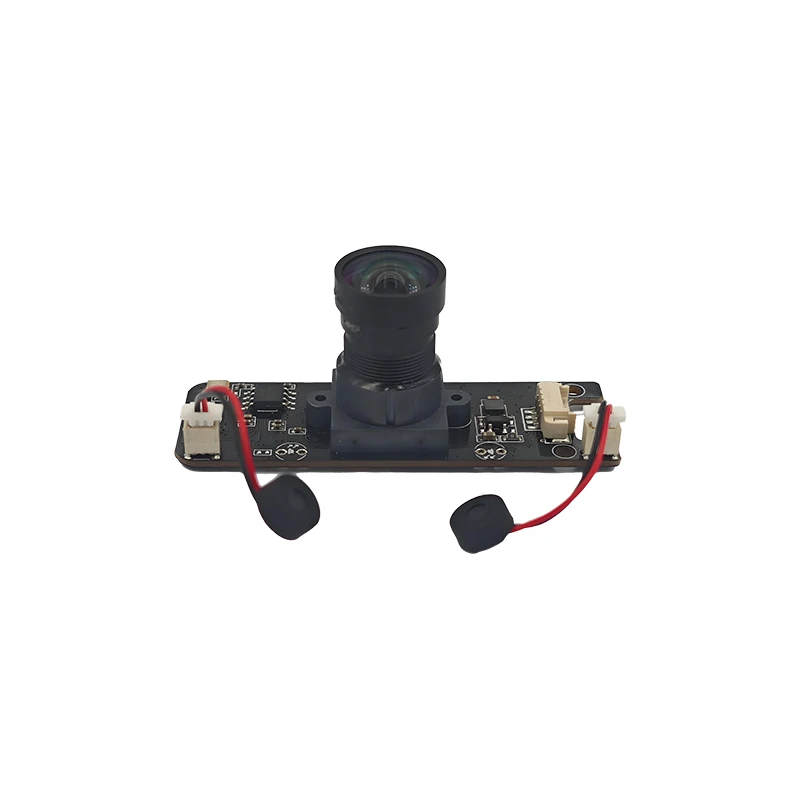
MY-USB1M818A Global Exposure Usb Camera Module With 1mp Hd Video
-
-
-
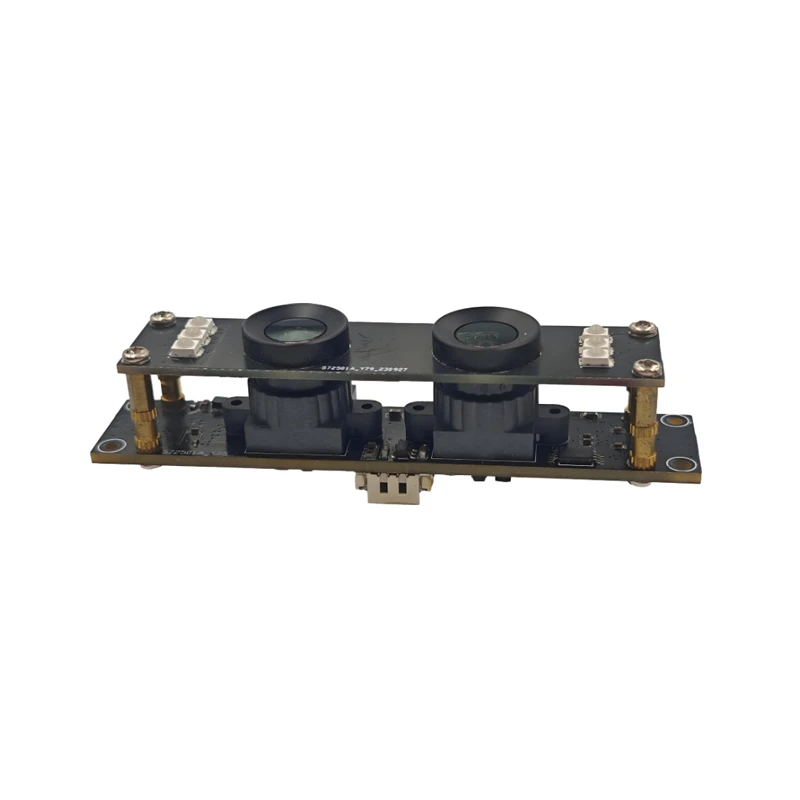
MY-DC52M-A1 Dual Lens Wide Dynamic Range Usb2.0 Camera Module With HD Video 5mp+2mp
-
MY-WHC700 Windows Hello Face Recognition Binocular USB Camera
-
MY-DC-260-A1 Dual Lens Usb2.0 Web Camera With High-definition Video 2mp+2mp
-
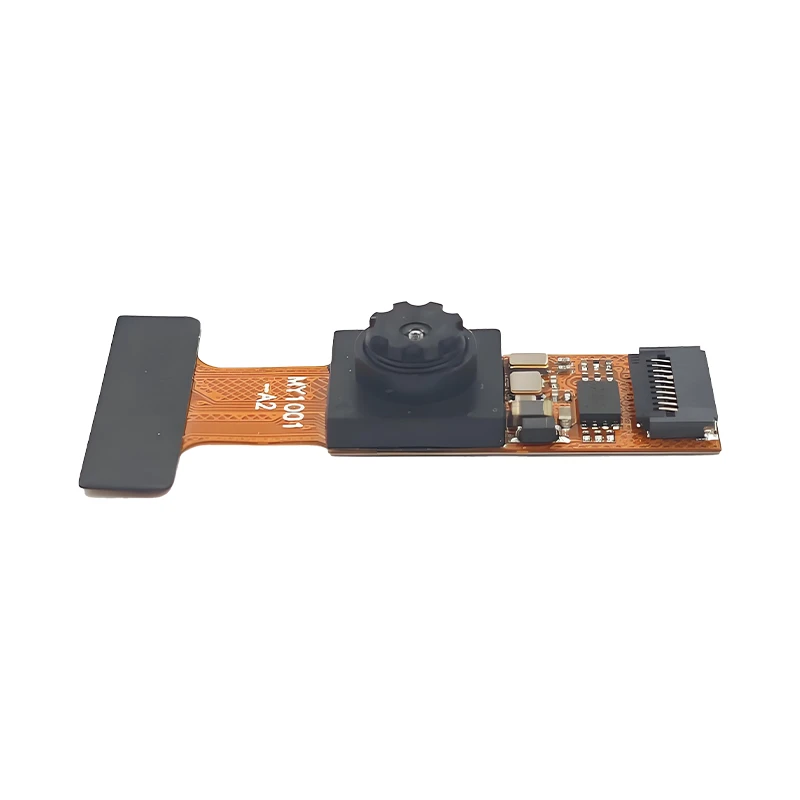
MY-1001-A2 AI Tracking, Gesture Recognition, Sitting Posture Detection Smart Camera Module
-
MY-USB8M158A 4K Resolution HD Video Driver-Free USB Camera Module With Microphone
