


Apr . 09, 2026 02:25 Back to list
Guide to Using the raspberry pi camera module v1 3 for IoT Projects
Mastering Visuals with the Raspberry Pi Camera Module v1.3
For enthusiasts and engineers diving into the world of computer vision and IoT, the raspberry pi camera module v1 3 serves as a foundational tool for capturing high-quality imagery. Whether you are building a smart doorbell, a time-lapse camera, or a basic security system, this module provides an accessible entry point into digital imaging. Its seamless integration with the Raspberry Pi ecosystem makes it a favorite for rapid prototyping. In this guide, we will explore the technical nuances, practical applications, and performance benchmarks of this versatile hardware to help you maximize your project's potential.

Core Capabilities of the Raspberry Pi Camera Module v1.3
The raspberry pi camera module v1 3 is engineered for simplicity and efficiency. At its heart, it utilizes an Omnivision sensor that allows users to capture stills and record videos with impressive clarity for its size. The module connects directly to the CSI (Camera Serial Interface) port of the Raspberry Pi, ensuring low latency and high data transfer rates compared to standard USB cameras. This direct connection reduces the CPU overhead, allowing your Pi to handle more complex processing tasks like image recognition or motion detection in real-time.
Key Highlights: High-speed CSI interface for reduced lag, compact form factor for easy mounting, and extensive community support through the Raspbian OS libraries.
Technical Specifications of the Raspberry Pi Camera Module v1.3
To truly understand the performance of the raspberry pi camera module v1 3, one must look at the hard data. This module is designed to balance power consumption with image resolution. While newer versions exist, the v1.3 remains a staple due to its reliability and cost-effectiveness. Below is a detailed breakdown of the hardware specifications that define its operational limits.
Comparing Raspberry Pi Camera Module v1.3 with Alternatives
When choosing between different camera iterations, the raspberry pi camera module v1 3 offers a specific set of advantages. While High Quality (HQ) cameras provide larger sensors and interchangeable lenses, the v1.3 is far more compact and easier to integrate into small enclosures. For projects where extreme detail is less important than size and power efficiency, the v1.3 is often the superior choice.
Practical Applications for Raspberry Pi Camera Module v1.3
The versatility of the raspberry pi camera module v1 3 allows it to be implemented across various domains. In the realm of home automation, it is frequently used for DIY security cameras that stream footage to a private server. In education, students use it to learn the basics of Python programming by creating simple face-detection apps. Additionally, it is widely used in wildlife monitoring for motion-triggered photography, where its low power draw is a significant advantage for battery-operated setups.
Optimizing Performance and Software Integration
To get the most out of your raspberry pi camera module v1 3, software optimization is key. Utilizing the libcamera or the legacy raspistill and raspivid commands allows for precise control over exposure, contrast, and saturation. For those integrating the camera into an AI pipeline, using OpenCV (Open Source Computer Vision Library) provides the necessary tools for object tracking and edge detection. Ensuring your Raspberry Pi OS is updated to the latest version will provide the most stable drivers for the hardware.
Installation and Hardware Troubleshooting
Setting up the raspberry pi camera module v1 3 is straightforward, but a few common pitfalls can occur. Always ensure the ribbon cable is inserted correctly with the blue side facing the Ethernet ports on most Pi models. If the camera is not detected, double-check that the camera interface is enabled in the raspi-config settings. Furthermore, ensure the cable is seated firmly in both the Pi board and the camera module itself, as a loose connection is the most frequent cause of "Camera not found" errors.
Conclusion: The Lasting Value of the v1.3 Module
The raspberry pi camera module v1 3 remains a powerhouse of versatility and affordability. While newer sensors offer higher megapixel counts, the v1.3's reliability, compact size, and vast software ecosystem make it an ideal choice for a wide array of projects. By understanding its specifications and leveraging the right software, you can create sophisticated visual systems without breaking your budget. Whether for learning or professional prototyping, this module is a reliable partner in innovation.
Frequently Asked Questions (FAQs)
Is the raspberry pi camera module v1.3 compatible with Raspberry Pi 4 and 5?
Yes, the module is generally compatible with the Raspberry Pi 4. For the Raspberry Pi 5, you may need a specific adapter cable because the camera connector size has changed to a smaller pitch. Once the physical connection is established, the software drivers in the latest Raspberry Pi OS will support the sensor, allowing you to use it for both photography and video recording seamlessly.
Can I change the focus on the v1.3 camera module?
The raspberry pi camera module v1.3 comes with a fixed-focus lens. However, many hobbyists successfully adjust the focus by carefully rotating the small lens element. While this requires a steady hand and may void warranties, it allows you to set a custom focus distance, which is particularly useful for macro photography or close-up object detection in industrial projects.
What is the best way to capture high-quality images with this module?
To achieve the best results, ensure there is ample lighting, as the small sensor can struggle in low-light environments. Use the --awb (auto white balance) and --exposure flags in the command line to tune the image to your specific environment. Additionally, using a tripod to prevent motion blur during long exposures can significantly improve the sharpness and professional look of your captures.
How does the CSI interface benefit the camera over USB?
The CSI (Camera Serial Interface) is a high-bandwidth, direct-to-processor connection. Unlike USB cameras, which must package data into packets that the CPU then unpacks, the CSI interface allows the camera to send raw data directly to the GPU/ISP (Image Signal Processor). This results in significantly lower latency, higher frame rates, and lower CPU usage, making it essential for real-time applications like drone navigation or robotics.
-
Guide to Raspberry Pi Camera Module v3 with Powered Autofocus
NewsApr.16,2026
-
Exploring the Capabilities of the Raspberry Pi Camera Module 3 Noir for Diverse Applications
NewsApr.07,2026
-
Unlocking Visual Potential with the Raspberry Pi Camera Module 3 for Advanced Projects
NewsApr.04,2026
-
Raspberry Pi Noir Camera Module V2 8MP 1080p30 A Comprehensive Guide for Projects
NewsMar.31,2026
-
Comprehensive Guide to the Raspberry Pi 3 B+ Camera Module and Its Applications
NewsMar.28,2026
-
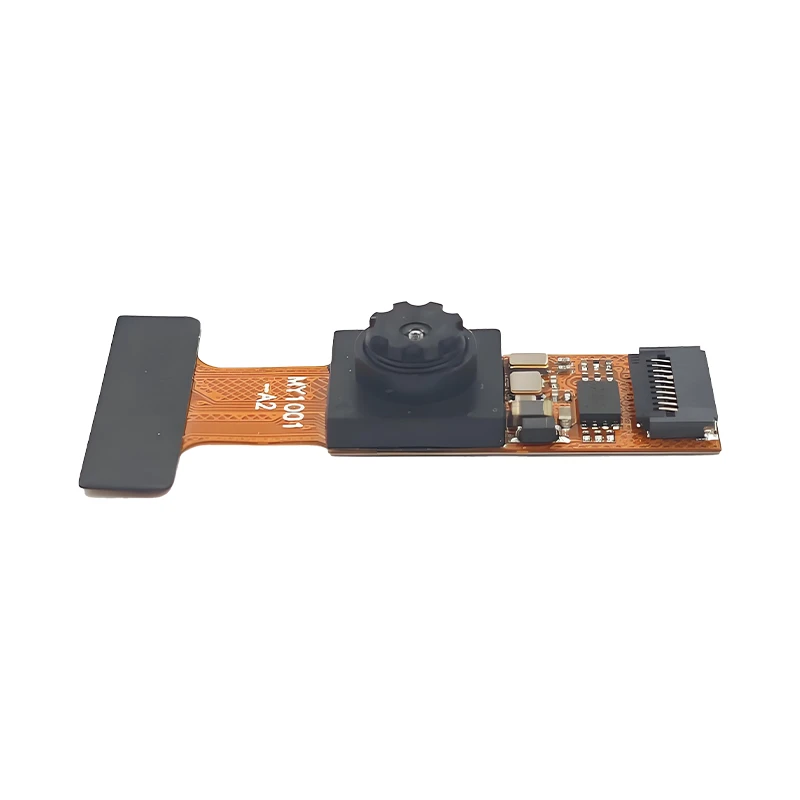
MY-USB1M818A Global Exposure Usb Camera Module With 1mp Hd Video
-
-
-
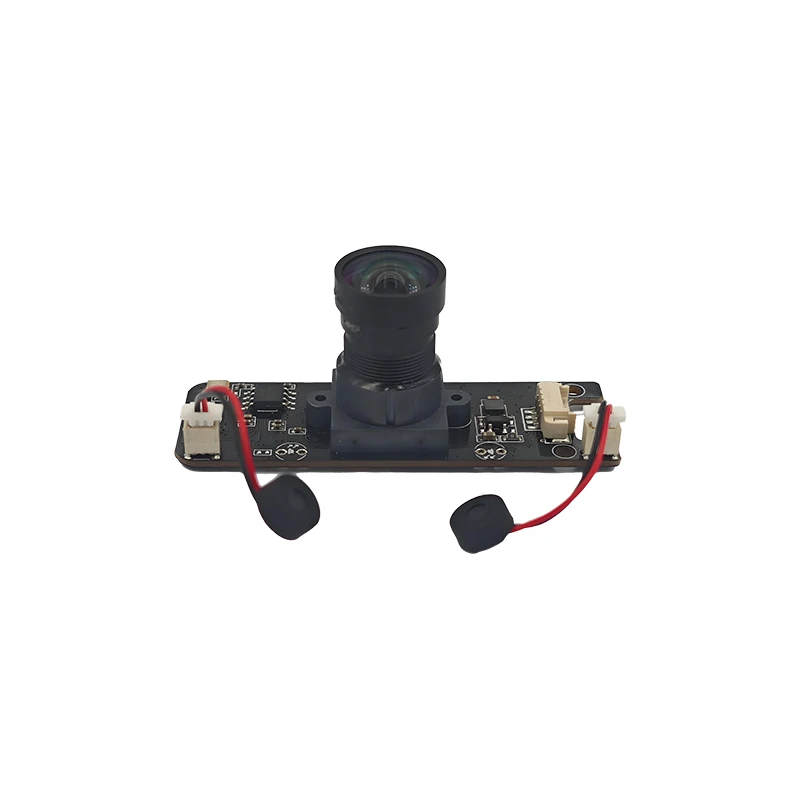
MY-DC52M-A1 Dual Lens Wide Dynamic Range Usb2.0 Camera Module With HD Video 5mp+2mp
-
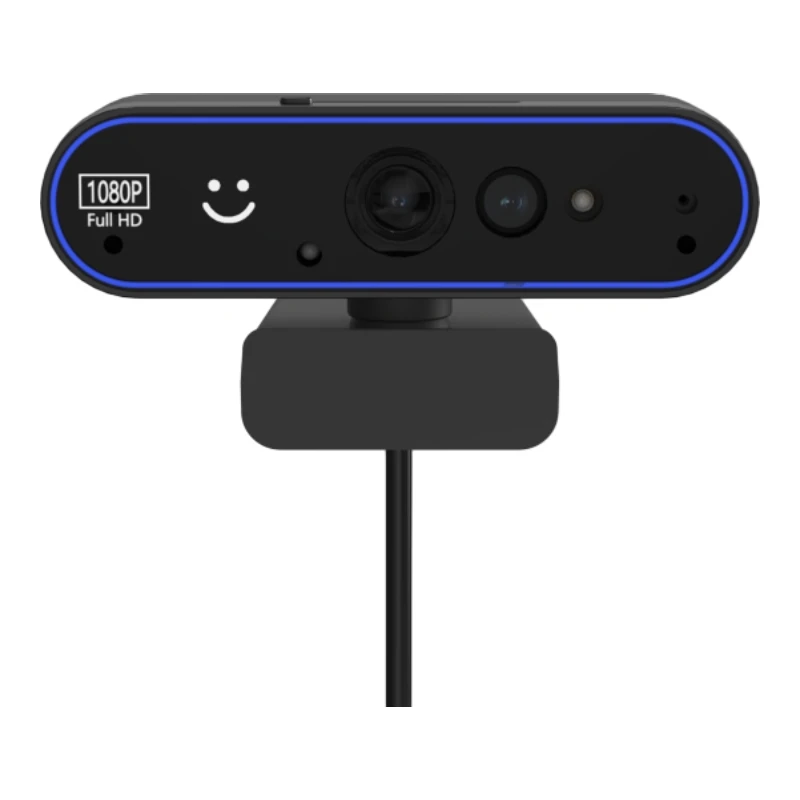
MY-WHC700 Windows Hello Face Recognition Binocular USB Camera
-
MY-DC-260-A1 Dual Lens Usb2.0 Web Camera With High-definition Video 2mp+2mp
-
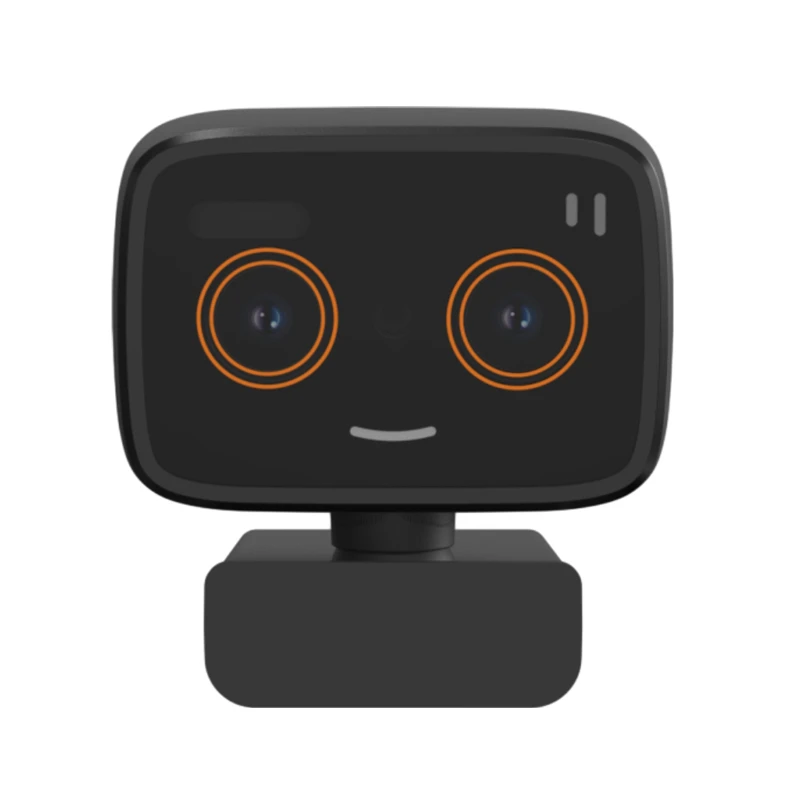
MY-1001-A2 AI Tracking, Gesture Recognition, Sitting Posture Detection Smart Camera Module
-
MY-USB8M158A 4K Resolution HD Video Driver-Free USB Camera Module With Microphone
