


Mar . 24, 2026 02:35 Back to list
Exploring the Advanced Capabilities of the Pi Camera Module 3 for Raspberry Pi
Understanding the Pi Camera Module 3: A Comprehensive Guide
The Pi Camera Module 3 represents a significant leap in imaging capabilities for Raspberry Pi projects. Offering enhanced resolution, improved image quality, and expanded features, it's the ideal choice for a wide range of applications, from robotics and surveillance to time-lapse photography and computer vision. This article will explore the key features, specifications, and applications of the Pi Camera Module 3, helping you determine if it's the right camera solution for your next project. We'll delve into how it compares to previous models and discuss the benefits of upgrading.

Key Features of the Pi Camera Module 3
The Pi Camera Module 3 boasts a 12.3-megapixel sensor, a substantial upgrade from its predecessors. This higher resolution enables capturing incredibly detailed images and videos. The module also features a new autofocus system, ensuring sharp and clear visuals, even in challenging lighting conditions. Further improvements include a wider field of view and enhanced low-light performance. It's designed for seamless integration with all Raspberry Pi models, providing a user-friendly experience for both beginners and experienced developers. The Pi Camera Module 3 is a versatile and powerful tool for any imaging project.
Key Highlights: 12.3-megapixel sensor, improved autofocus, wider field of view, enhanced low-light performance, and seamless Raspberry Pi integration.
Understanding the Technical Specifications
Understanding the technical specifications of the Pi Camera Module 3 is crucial for determining its suitability for your project. Key specs include the sensor type, resolution, lens aperture, and field of view. These details directly influence the image quality, depth of field, and overall performance of the camera. Knowing these specifications allows for informed decisions regarding lens selection, lighting requirements, and potential project limitations. The Pi Camera Module 3 specifications are designed to deliver exceptional performance and flexibility.
Pi Camera Module 3 vs. Previous Generations
The Pi Camera Module 3 represents a significant upgrade over the V2 and original models. The most notable improvement is the increase in resolution from 8 megapixels to 12.3 megapixels, resulting in sharper and more detailed images. The new autofocus system is another key enhancement, eliminating the need for manual focus adjustments. Furthermore, the improved low-light performance allows for better image capture in challenging lighting conditions. The Pi Camera Module 3 delivers a superior imaging experience compared to its predecessors.
Comparison Table:
• Resolution: Pi Camera 3 (12.3MP) vs. V2 (8MP) vs. Original (5MP)
• Autofocus: Pi Camera 3 (Yes) vs. V2 (No) vs. Original (No)
• Low-Light Performance: Pi Camera 3 (Improved) vs. V2 (Standard) vs. Original (Limited)
• Field of View: Pi Camera 3 (78°) vs. V2 (62°) vs. Original (54°)
Applications of the Pi Camera Module 3
The Pi Camera Module 3 opens up a world of possibilities for various applications. It's ideal for building security systems, time-lapse photography setups, and robotics projects. Its high resolution and autofocus capabilities make it perfect for computer vision tasks, such as object recognition and image analysis. The camera can also be used for remote monitoring, environmental data collection, and educational purposes. The Pi Camera Module 3's versatility makes it a valuable asset for hobbyists, educators, and professionals alike.

Choosing the Right Pi Camera Module 3 for Your Project
Selecting the appropriate Pi Camera Module 3 configuration depends on your specific project requirements. Consider factors such as the lens type (standard or wide-angle), cable length, and mounting options. szmyccm.com offers a range of accessories to customize your setup and optimize performance. Carefully evaluate your needs and choose the components that best align with your project goals. Ensuring compatibility with your Raspberry Pi model is also essential.
Conclusion: Elevating Your Raspberry Pi Projects with the Pi Camera Module 3
The Pi Camera Module 3 is a powerful and versatile addition to any Raspberry Pi enthusiast's toolkit. With its improved resolution, autofocus, and low-light performance, it enables a wide range of exciting projects. Whether you're building a security system, a robotics platform, or a time-lapse photography rig, the Pi Camera Module 3 delivers exceptional results. Invest in the Pi Camera Module 3 and unlock the full potential of your Raspberry Pi.
Frequently Asked Questions (FAQs)
What Raspberry Pi models is the Pi Camera Module 3 compatible with?
The Pi Camera Module 3 is compatible with all models of Raspberry Pi that feature a CSI (Camera Serial Interface) port. This includes the Raspberry Pi 4 Model B, Raspberry Pi 3 Model B/B+, Raspberry Pi Zero/W/2W, and Raspberry Pi 5. However, it is highly recommended to use the latest Raspberry Pi OS and ensure the camera interface is enabled in the Raspberry Pi Configuration tool before connecting the module. Using older versions of the operating system might require manual driver updates for optimal performance.
Can I use the Pi Camera Module 3 for night vision?
While the Pi Camera Module 3 has improved low-light performance compared to previous models, it does not inherently offer true night vision capabilities. For night vision applications, you will need to pair the camera with an infrared (IR) illuminator and potentially an IR cut filter. The IR illuminator provides the necessary light for the camera to capture images in complete darkness, and the IR cut filter ensures that only IR light reaches the sensor, enhancing image clarity. You can find compatible IR illuminators and filters at szmyccm.com.
How do I enable the camera interface on my Raspberry Pi?
To enable the camera interface on your Raspberry Pi, you can use the Raspberry Pi Configuration tool. Access this tool by opening the terminal and typing `sudo raspi-config`. Navigate to "Interface Options" and then select "Camera." Enable the camera interface and reboot your Raspberry Pi. Alternatively, you can use the Raspberry Pi Imager tool when flashing a new operating system to enable the camera interface during the initial setup process. This ensures the necessary drivers and settings are configured correctly for optimal camera performance.
What is the optimal cable length for the Pi Camera Module 3?
The standard cable length for the Pi Camera Module 3 is approximately 30cm (12 inches). While longer cables are available, it’s generally recommended to keep the cable length as short as possible to minimize signal degradation and ensure optimal image quality. Using excessively long cables can lead to image artifacts, reduced resolution, or even complete camera failure. If you require a longer cable, consider using a high-quality shielded cable and testing it thoroughly to ensure it meets your project's requirements. szmyccm.com offers cables in various lengths.
-
Guide to Raspberry Pi Camera Module v3 with Powered Autofocus
NewsApr.16,2026
-
Guide to Using the raspberry pi camera module v1 3 for IoT Projects
NewsApr.09,2026
-
Exploring the Capabilities of the Raspberry Pi Camera Module 3 Noir for Diverse Applications
NewsApr.07,2026
-
Unlocking Visual Potential with the Raspberry Pi Camera Module 3 for Advanced Projects
NewsApr.04,2026
-
Raspberry Pi Noir Camera Module V2 8MP 1080p30 A Comprehensive Guide for Projects
NewsMar.31,2026
-
Comprehensive Guide to the Raspberry Pi 3 B+ Camera Module and Its Applications
NewsMar.28,2026
-
MY-USB1M818A Global Exposure Usb Camera Module With 1mp Hd Video
-
-
-
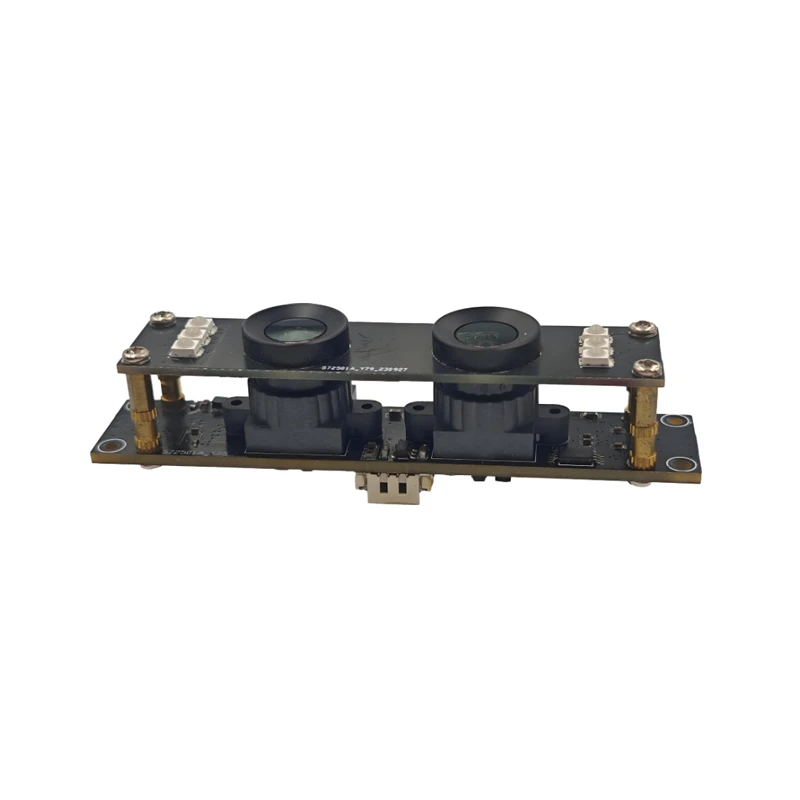
MY-DC52M-A1 Dual Lens Wide Dynamic Range Usb2.0 Camera Module With HD Video 5mp+2mp
-
MY-WHC700 Windows Hello Face Recognition Binocular USB Camera
-
MY-DC-260-A1 Dual Lens Usb2.0 Web Camera With High-definition Video 2mp+2mp
-
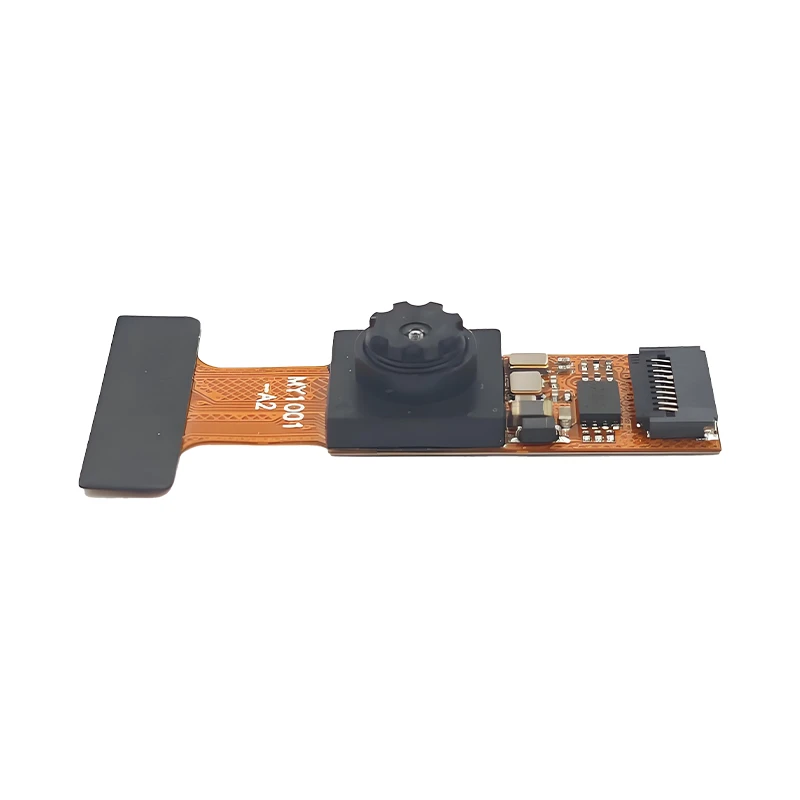
MY-1001-A2 AI Tracking, Gesture Recognition, Sitting Posture Detection Smart Camera Module
-
MY-USB8M158A 4K Resolution HD Video Driver-Free USB Camera Module With Microphone
